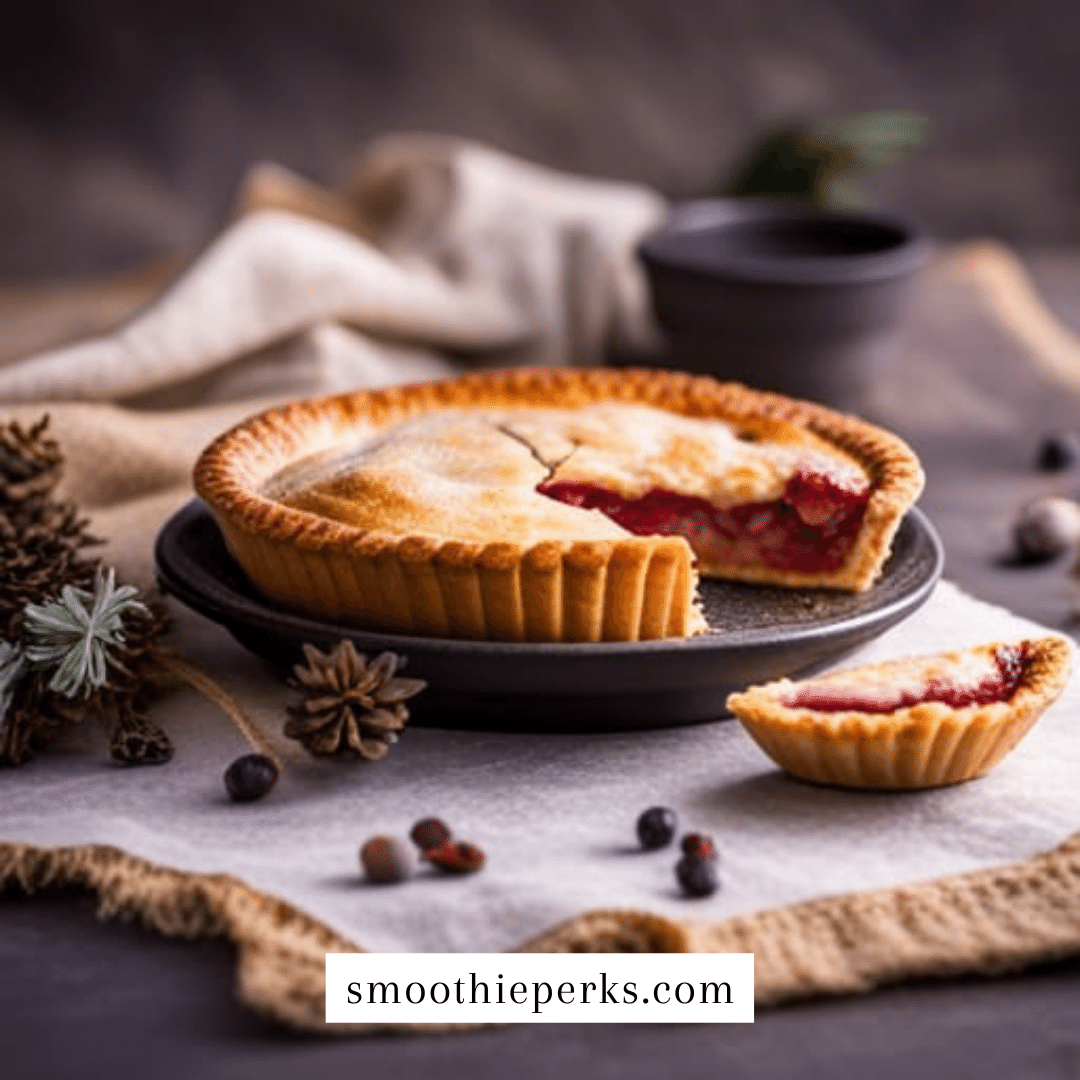
Indulge in the warm, comforting embrace of homemade apple pie with a buttery, flaky crust that’s an absolute breeze to prepare. Whether you’re a seasoned baker or a novice in the kitchen, this easy apple pie crust recipe will have you impressing your guests with your culinary prowess in no time. Made with simple, pantry staples, this recipe guarantees a delightful, golden-brown crust that pairs perfectly with sweet, spiced apple filling. So, roll up your sleeves, and let’s dive into the world of scrumptious apple pies!
Ingredients:

Metric:
- 250g all-purpose flour
- 1/2 tsp salt
- 150g unsalted butter (cold and cubed)
- 60ml ice-cold water
Imperial:
- 1 cup all-purpose flour
- 1/2 tsp salt
- 2/3 cup unsalted butter (cold and cubed)
- 1/4 cup ice-cold water
Recipe Instructions:
Prepare Your Ingredients:
Start by measuring out your flour and salt, and then cube the cold butter. Place these ingredients in the fridge for 10 minutes to keep them as cold as possible.
Combine Flour and Salt:
In a large mixing bowl, whisk together the flour and salt.
Incorporate the Butter:
Add the cold, cubed butter to the flour mixture. Use a pastry cutter or your fingertips to quickly work the butter into the flour until it resembles coarse crumbs.
Add Ice-Cold Water:
Gradually add the ice-cold water, a tablespoon at a time, and mix the dough until it starts to come together. Be careful not to overmix; you want the dough to be just moist enough to form a ball.
Form a Dough Ball:
Gather the dough into a ball, wrap it in plastic wrap, and refrigerate it for at least 30 minutes. This rest time allows the dough to firm up and makes it easier to roll out.
Roll Out the Crust:
On a floured surface, roll out the chilled dough to fit your pie dish. Ensure it’s large enough to cover the base and sides.
Line the Pie Dish:
Carefully transfer the rolled-out crust into your pie dish, gently pressing it into the corners and edges. Trim any excess overhang.
Filling Ready:
Your easy apple pie crust is now ready to be filled with your favorite apple pie filling. Follow your preferred apple pie recipe for the filling and baking instructions.
Preparation Time: 15 minutes Rest Time: 30 minutes Cooking Time: As per your apple pie recipe Number of Servings: Crust for a 9-inch pie
Calories (per serving): Approximately 170 calories (varies based on the size and filling of your pie)
Pros:
- Quick and easy preparation
- Versatile, suitable for various pie fillings
- Flaky, tender, and buttery crust
Cons:
- Contains butter, so not suitable for those with dairy allergies
- Requires refrigeration time, so plan ahead
Benefits of Ingredients:
- All-purpose flour: A pantry staple, it provides structure to the crust.
- Unsalted butter: Imparts a rich, buttery flavor and creates flakiness.
- Ice-cold water: This helps prevent the butter from melting, resulting in a flaky texture.
- Salt: Enhances flavor and balances the sweetness of the filling.
References for Benefits:
FAQs:
Can I make this crust in advance?
Absolutely! Making the crust in advance is a time-saving strategy. After preparing the dough, wrap it tightly in plastic wrap and refrigerate it for up to 2 days before using. This allows you to plan your baking ahead of time, making it convenient for busy schedules or special occasions. Just be sure to let it come to a slightly pliable temperature before rolling it out for your pie.
Can I freeze the dough for later use?
Yes, freezing the dough is a fantastic option for long-term storage. After preparing the dough, wrap it securely in plastic wrap and place it inside a freezer-safe bag or container. You can store it in the freezer for up to 3 months. When you’re ready to use it, simply thaw the dough in the refrigerator overnight. This makes it convenient to have homemade pie crust readily available whenever the craving strikes, or when you want to impress guests with a freshly baked pie.
What’s the secret to achieving a flaky crust?
The key to a flaky crust lies in keeping the butter cold and handling the dough with care. Ensure your butter is cold, straight from the fridge, and cut into small cubes. Work quickly to incorporate the butter into the flour mixture, aiming for pea-sized butter pieces. Using ice-cold water is crucial, as it helps prevent the butter from melting too quickly. Additionally, don’t overmix the dough—stop as soon as it starts to come together. Finally, the resting time in the refrigerator allows the fats (butter) to solidify, resulting in layers of flakiness during baking.
Can I use this crust for savory pies as well?
Absolutely! This easy apple pie crust recipe is versatile and can be used for both sweet and savory pies. Whether you’re making a classic chicken pot pie, a quiche, or a savory vegetable pie, this buttery and flaky crust will complement a wide range of fillings. Just adjust the filling and seasoning to suit your savory pie recipe, and the crust will deliver the perfect balance of flavor and texture.
What should I do if my crust cracks or becomes soggy?
Cracks in the crust can be patched by gently pressing the edges together with your fingers. To prevent a soggy bottom crust, you can “blind-bake” it before adding your filling. To do this, line the pie crust with parchment paper, fill it with pie weights or dried beans, and bake it in a preheated oven at 375°F (190°C) for about 10-15 minutes. Then, remove the weights and parchment paper, and continue with your pie recipe as usual. This pre-baking step helps create a barrier and ensures a crisp, not soggy, crust.
What are some creative variations I can try with this crust?
This easy apple pie crust serves as a canvas for your culinary creativity. You can experiment by adding spices like cinnamon or nutmeg to the dough for a subtle flavor twist. For a sweeter crust, consider incorporating a touch of powdered sugar or a drizzle of honey. You can also experiment with different types of fats, such as using half butter and half shortening for a slightly different texture. The possibilities are endless, so don’t hesitate to customize the crust to match your unique pie creations.
Can I use this crust for tarts or hand pies?
Certainly! This versatile crust works beautifully for tarts, mini pies, and hand pies as well. Simply roll out the dough to fit your tart or hand pie molds, add your desired filling, and bake according to your tart or hand pie recipe’s instructions. The flakiness and buttery goodness of this crust will elevate any sweet or savory tart or hand pie you choose to make. Enjoy experimenting with different fillings and shapes to create delightful bite-sized treats.
Conclusion:
Mastering the art of creating an easy apple pie crust opens the door to endless dessert possibilities. So why wait? Give this recipe a try, and savor the joy of baking your own delectable apple pie. Customize it to your heart’s content and share the love of homemade goodness with family and friends.
ⓘ Disclaimer:
Please note that the information provided in this blog post is for general informational purposes only and does not constitute professional advice. The author of this article is not an expert. It is important to consult with a qualified professional. The content of this blog post is based on the author’s personal experiences, research, and opinions. SmoothiePerks.com nor the author assumes no responsibility or liability for any consequences resulting from the use of this information. By reading this blog post, you acknowledge and accept that the information provided here is not a substitute for professional advice.
ⓘ Disclosure
Amazon Associates Program: smoothieperks.com is a participant in the Amazon Services LLC Associates Program, an affiliate advertising program designed to provide a means for sites to earn fees by advertising and linking to Amazon.com.
ⓘ Affiliate Disclaimer/Disclosure:
Please assume any links to 3rd party products are affiliate links for which I may receive a small payment from the vendor if you decide to sign up or purchase – at no cost to you.


One thought on “Easy Apple Pie Crust Recipe: Flaky Perfection”